
The Ultimate Checklist for Basic DIY Faucet Repairs
A dripping or leaking faucet isn’t just an annoyance—it can waste gallons of water and increase your utility bills. The good news? Most basic faucet repairs are simple enough to do on your own with a few household tools. This checklist will help you identify the problem, gather the right materials, and fix the issue safely.
Step 1: Identify Your Faucet Type
Before starting, figure out what kind of faucet you have. Each type has a different internal mechanism and repair approach.
Common types include:
- Compression (two handles for hot and cold water)
- Cartridge (smooth single handle motion)
- Ball (common in kitchen sinks)
- Ceramic disk (uses durable ceramic plates to control water flow)
Knowing your type helps you buy the correct replacement parts and follow the right steps.
Step 2: Turn Off the Water Supply
Always shut off the water before working on any faucet.
Look for the shut-off valves under the sink and turn them clockwise until they stop. Open the faucet to release any pressure and remaining water in the line.
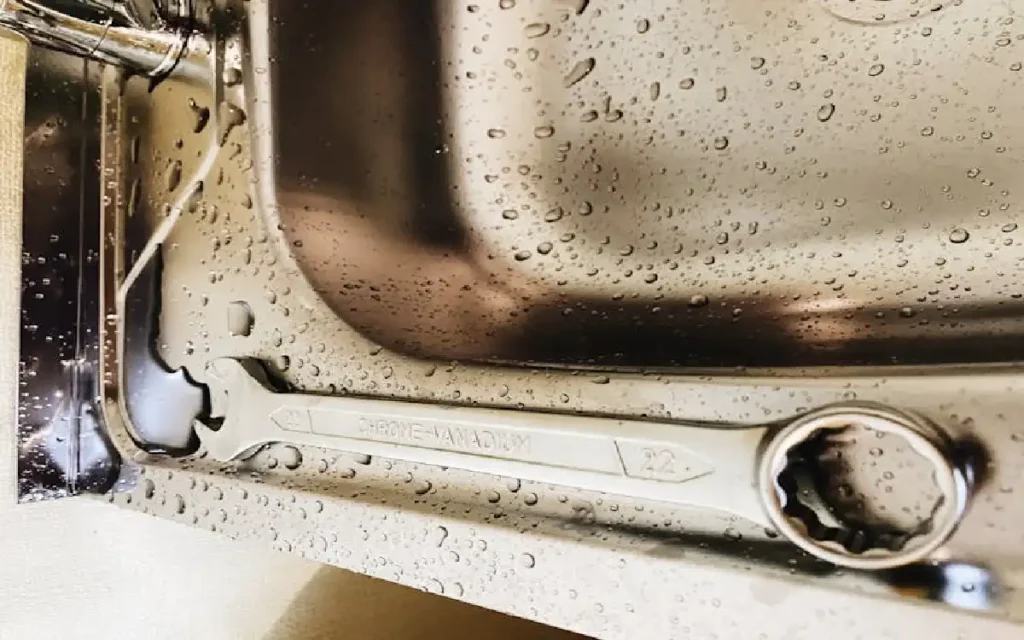
Step 3: Gather Basic Tools
Having the correct tools makes the job faster and safer. You may need:
- Adjustable wrench or basin wrench
- Screwdrivers (Phillips and flathead)
- Pliers
- Replacement washers, O-rings, or cartridges
- Plumber’s grease
- Soft cloth or towel
Lay everything out near your workspace before disassembling anything.
Step 4: Disassemble the Faucet
Use the proper screwdriver or wrench to carefully remove the faucet handle and related components. Keep parts organized in the order they were removed to make reassembly easier. If any parts are corroded or damaged, take them to a hardware store to find a matching replacement.
Step 5: Inspect and Replace Worn Components
Most leaks occur due to worn-out washers, O-rings, or cartridges.
- For compression faucets, replace both washers and O-rings.
- For cartridge or ball faucets, replace the entire cartridge if damaged.
- For ceramic disk faucets, check the seals and clean any buildup.
Apply a small amount of plumber’s grease to new parts before reinstalling them for a smoother fit.
Step 6: Reassemble and Test
Once all parts are replaced, carefully reassemble the faucet in reverse order.
Turn the water supply back on slowly while watching for leaks. Open the faucet to check for smooth flow and confirm that the dripping has stopped.
Step 7: Clean and Maintain Regularly
Keep your faucet working efficiently with simple maintenance:
- Wipe mineral buildup using vinegar and a soft cloth.
- Replace O-rings or washers annually if your area has hard water.
- Check for loose handles or small leaks every few months.
A few minutes of care can extend the life of your faucet and help avoid larger plumbing problems.
When to Call a Professional
If your faucet still leaks after multiple attempts, or you notice water damage under the sink, it’s time to call a licensed plumber. Professionals can diagnose deeper issues like pipe corrosion or faulty valves safely and efficiently.
This checklist gives homeowners a quick, reliable way to fix minor faucet issues without frustration. For persistent leaks or complex setups, professional plumbing services remain the best long-term solution.
For More Details Visit Aaron Plumbing TX Contact Page


