
The Basics of Toilet Repair: Flapper, Fill Valve, and More
Toilet repair troubles like running water or slow flushes often come down to a few simple parts. Most fixes take under 30 minutes with basic tools and cost less than $20. You’ll save time and money by handling these yourself before calling a plumber.
Spot Common Issues
A running toilet usually means the flapper leaks or the fill valve sticks. Listen for water trickling in the tank after a flush. If jiggling the handle stops it briefly, start with the flapper.
Tools You’ll Need
Gather these basics for most jobs:
- Adjustable wrench
- Screwdriver
- Replacement flapper or fill valve (match your toilet’s size, often 2-inch)
- Towel or bucket for spills
Snug fittings gently to avoid cracking porcelain.
Fix the Flapper
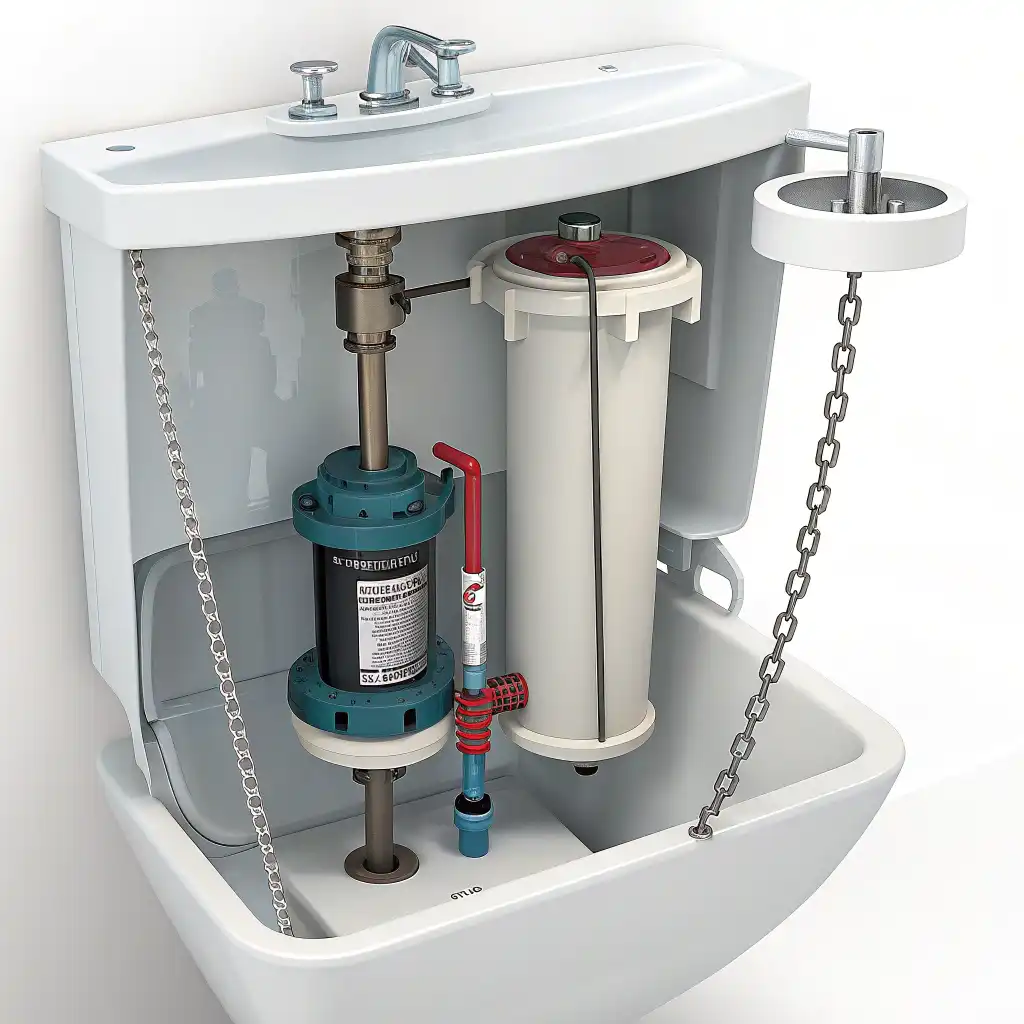
The flapper seals the flush valve. It wears out from mineral buildup or age.
Follow these steps:
- Turn off water at the shutoff valve behind the toilet. Flush and hold the handle to empty the tank.
- Unhook the chain and arms from the flush valve posts. Remove the old flapper.
- Clean the valve seat with a sponge or fine sandpaper for a good seal.
- Snap the new flapper onto the posts. Adjust the chain for slight slack (1-2 links).
- Turn water on and test. Flush a few times; tweak if it doesn’t seal fully.
Replace the Fill Valve
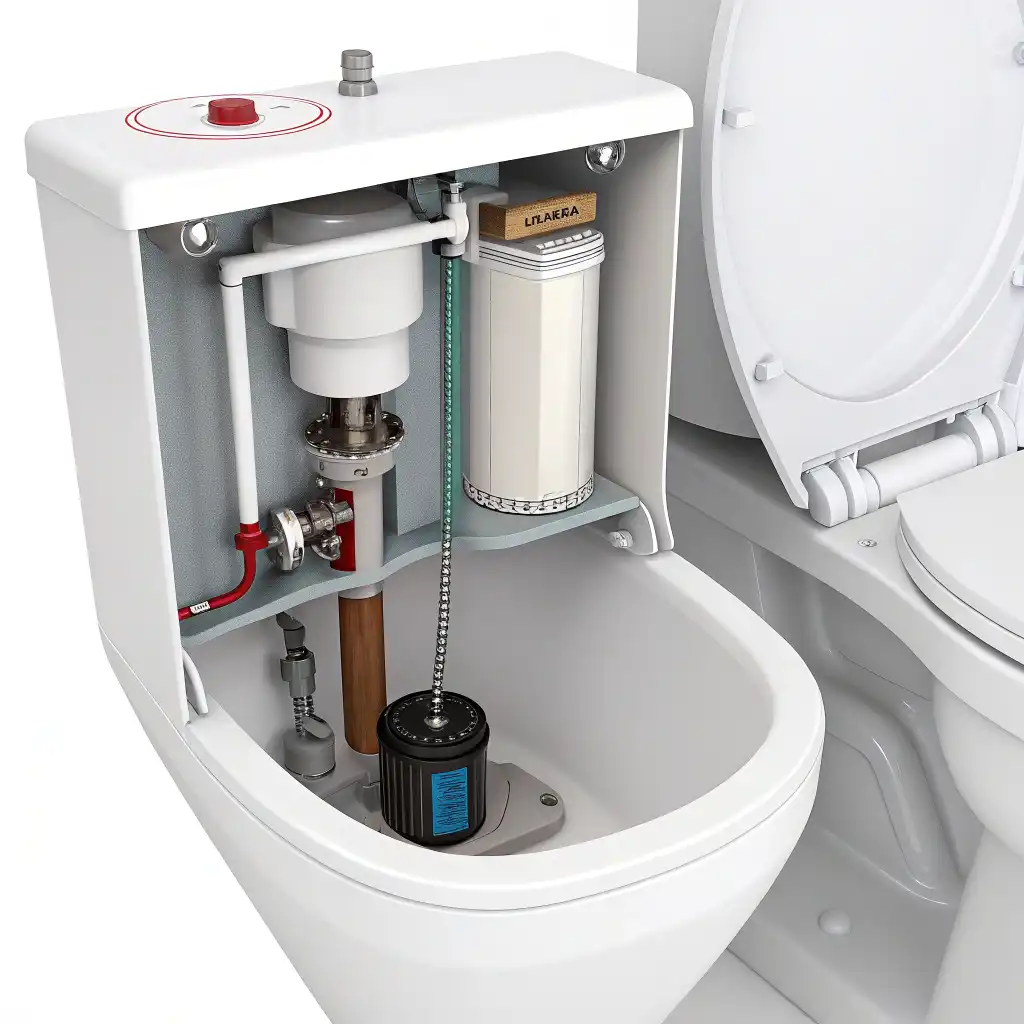
This part refills the tank and overflow tube. A faulty one causes slow fills or constant running.
Quick steps:
- Shut off water and empty the tank as above.
- Disconnect the supply line. Unscrew the nut holding the old valve (use a wrench on the tank base).
- Adjust the new valve height to match (usually 9-11 inches above tank bottom). Secure the nut.
- Reconnect the supply line and refill tube to the overflow with its clip.
- Turn water on. Fine-tune the float so water stops 1 inch below the overflow top.
Handle Other Basics
- Clogged flush holes: Scrub under the rim with a green Scotch-Brite pad and vinegar.
- Tank lever issues: Straighten a bent arm or replace if loose.
- Base leaks: Tighten bolts or replace the wax ring (trickier; lift the toilet if needed).
When to Get Help
These DIY steps fix 80% of issues. Call a pro for persistent leaks, base cracks, or if water damage appears. Better safe than dealing with bigger plumbing headaches.

For More Details Visit Aaron Plumbing TX Contact Page


